
Why a Structured Inspection Checklist Matters on Tarp Claims
When you pull up to a storm-damaged property, the tarp is already on. Your job is to determine whether it was installed correctly, whether it's protecting the structure, and whether the documentation supports the claim. That's a lot to assess quickly on a heavy CAT schedule.
A structured checklist keeps you consistent and creates a defensible record if the tarp fails, a supplement comes in, or the contractor disputes your findings. The eighteen items below are grouped by category so you can move through the site efficiently.
Perimeter Attachment and Anchor Points
Start at the edges. A tarp that isn't anchored properly will fail in the next wind event, and that failure becomes a coverage dispute.
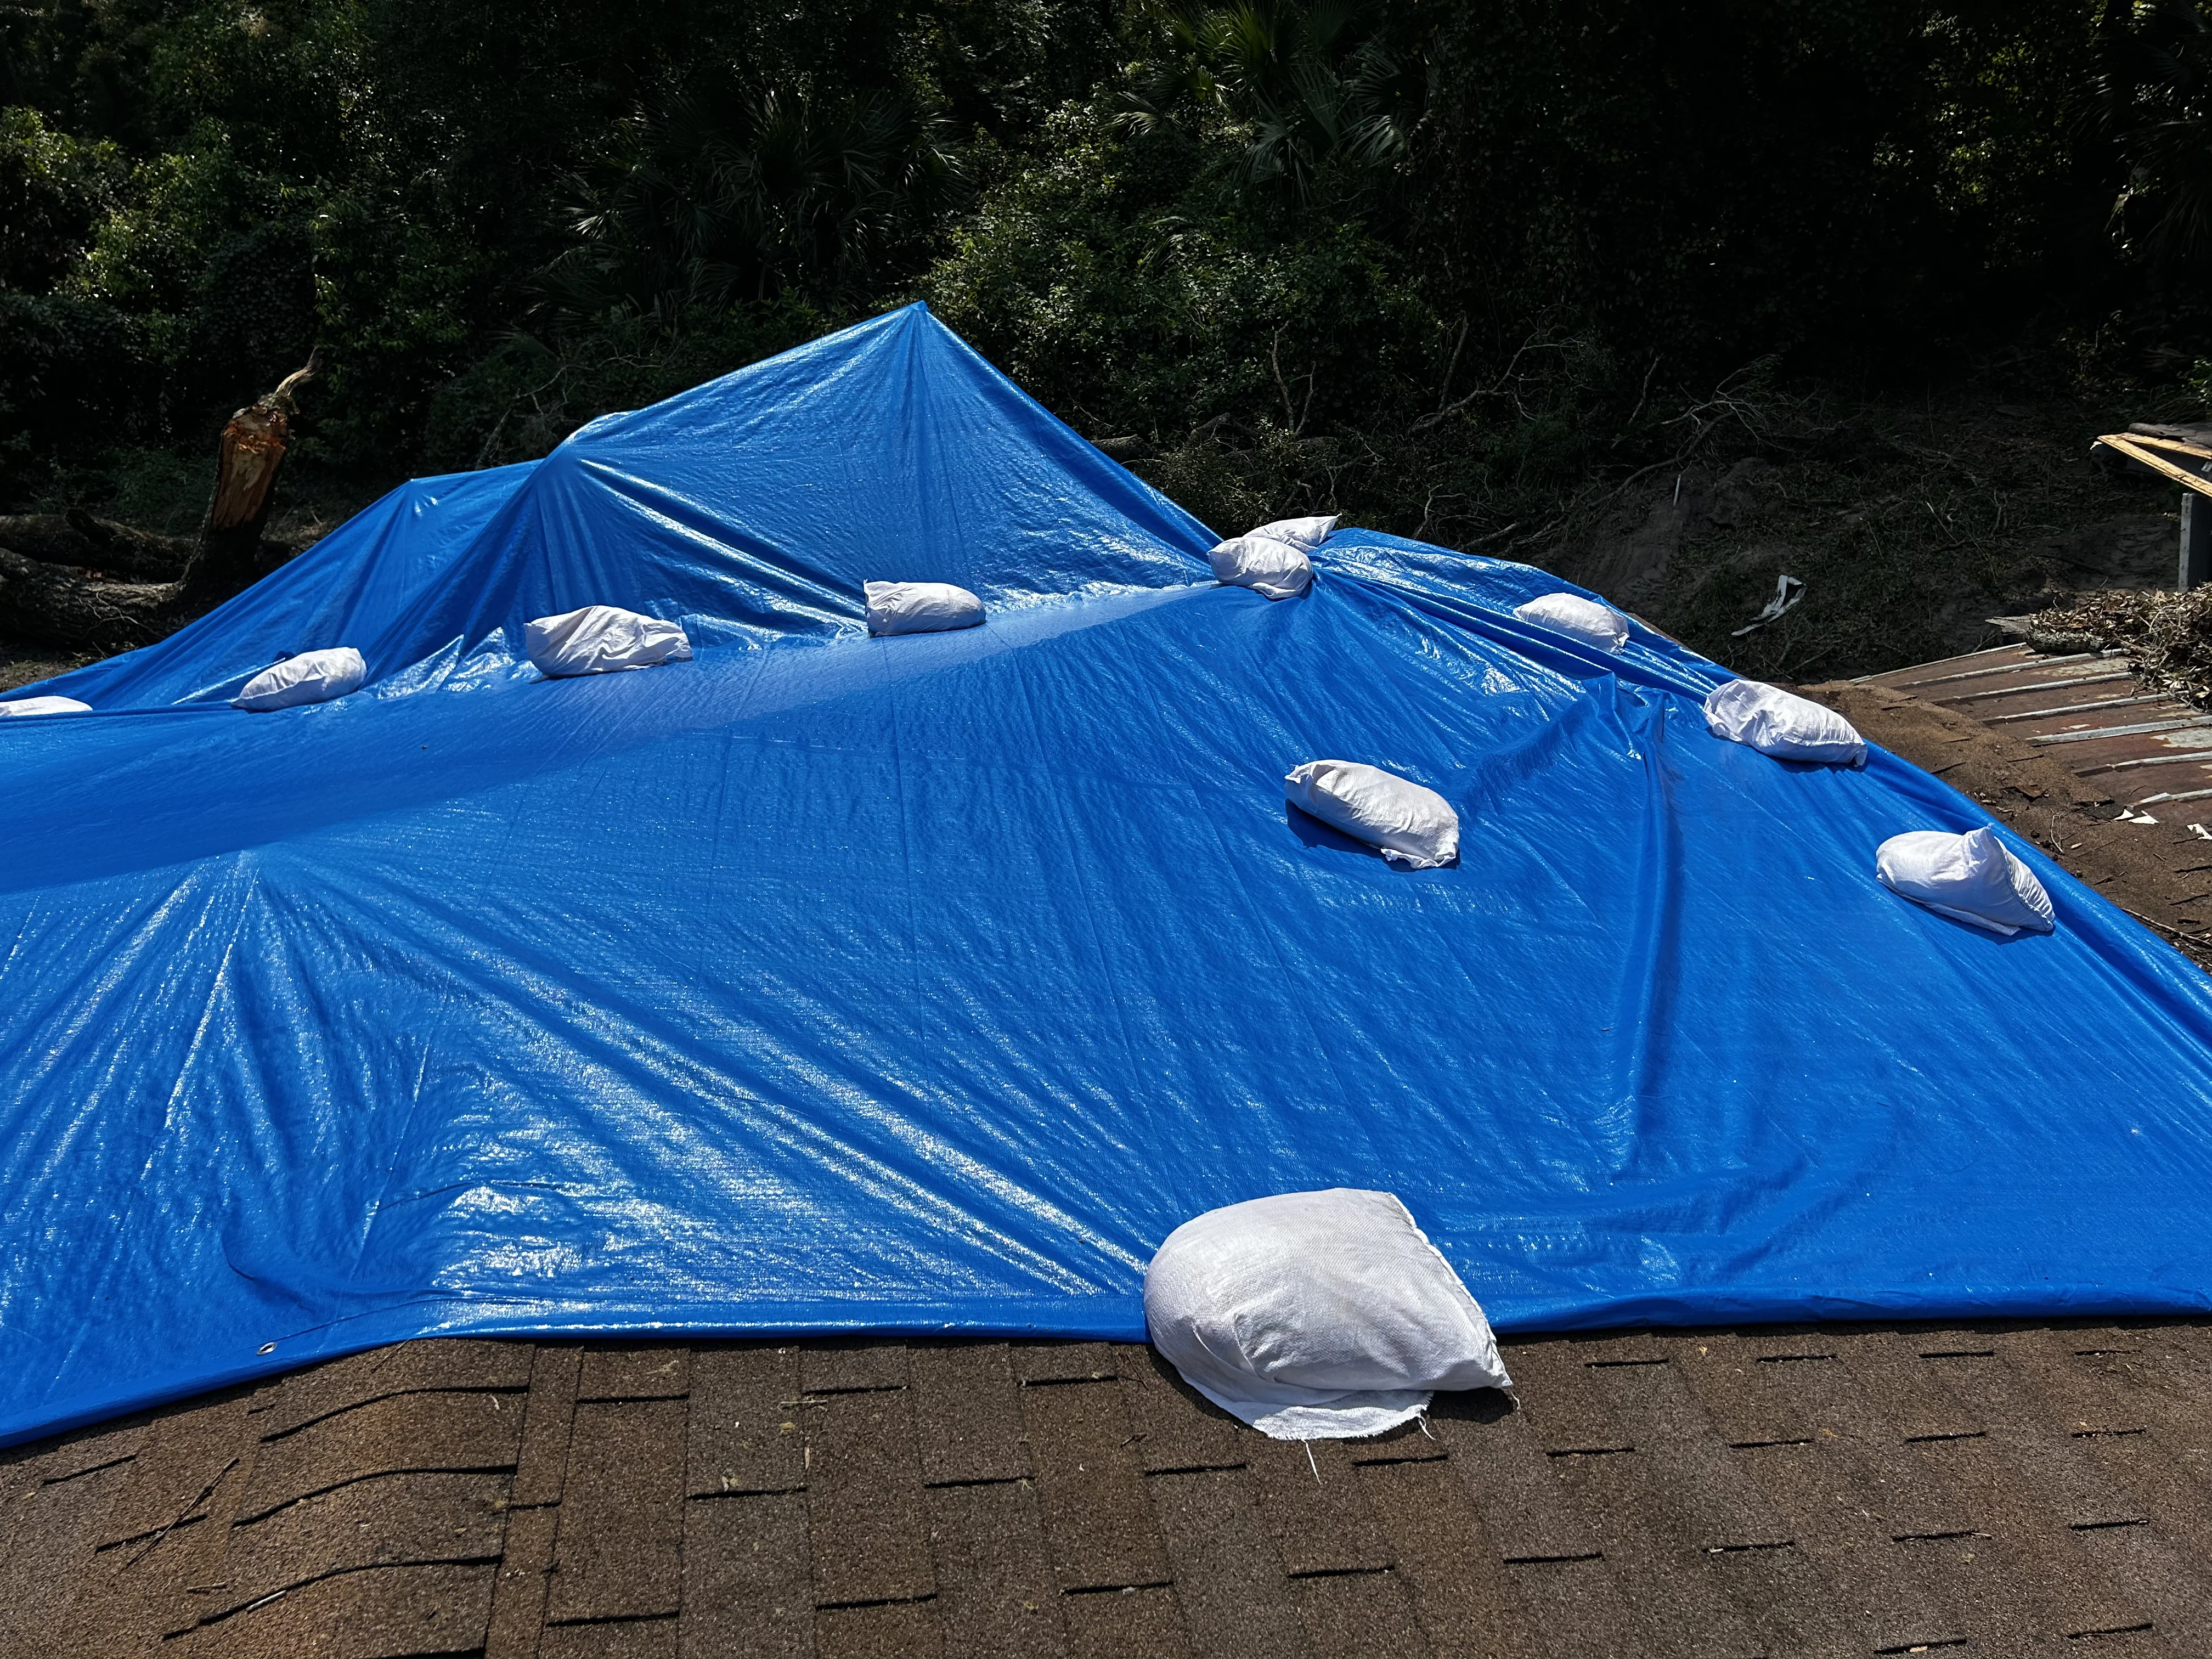
Check that the tarp extends at least four feet past the damaged area on all sides. Look for anchor points at the ridge, eaves, and rakes. On a non-destructive installation, you should see TarpBags® or equivalent weighted anchor bags rather than nails or screws driven through the membrane. If you see nail penetrations, document them. Those penetrations are new damage introduced by the mitigation contractor, and they affect how you write the estimate.
Verify that the tarp is pulled taut. Pooling water under a loose tarp accelerates interior damage and creates mold conditions faster than most adjusters expect.
Overlap and Seam Integrity
Seams are where tarps fail. A single-layer tarp with no overlap at the ridge is a temporary fix at best, and it won't hold through a Florida afternoon storm.
Look for a minimum twelve-inch overlap at all seams. At the ridge, the tarp should wrap over and down both sides. If multiple tarps were used to cover a large area, check that each overlap runs in the direction of water flow, not against it. A seam running uphill is an entry point.
Document the seam condition with photos. If the seams are taped, note the tape type. Contractor-grade seam tape holds differently than standard duct tape, and that distinction matters when you're evaluating whether the installation meets industry best practice.
Drainage and Water Management
A tarp that traps water is worse than no tarp. Check that the installation allows water to drain off the roof rather than pond on the surface.
Look for low spots where water collects. On a hip or gable roof, the geometry usually handles drainage naturally, but a flat or low-slope section needs deliberate attention. If the contractor used sandbags or ballast along the eaves, confirm they're positioned to allow runoff rather than dam it.
Note any gutters or downspouts that are blocked by the tarp or by debris. Blocked drainage is a supplement item, and it's also a condition that will worsen interior damage if it rains before repairs begin.
Structural Condition Under the Tarp
You can't always see what's under the tarp, but you can assess what's visible at the edges and through the attic.
If access is safe, check the attic for active leaks, wet insulation, or daylight visible through the decking. Note the extent of wet insulation because that drives your drying scope. If the tarp was installed promptly after the loss event, you may find the decking is still dry, which is the outcome a non-destructive installation is designed to achieve.
Document any pre-existing damage you observe. Granule loss, previous patch repairs, and deteriorated flashing are all relevant to your estimate and to any coverage questions about the age and condition of the roof system.
Documentation Provided by the Contractor
A well-run mitigation contractor should hand you a package, not just a bill. Ask for the installation date and time, the crew lead's name, photos taken before and during installation, and the materials list with quantities.
If the contractor used TarpBags, the materials list should reflect the number of bags deployed and their placement. That documentation supports your estimate and gives you a basis for comparison if a supplement comes in later claiming additional materials were used.
Check whether the contractor's photos show the damage condition before the tarp went on. Pre-installation photos are the baseline for your estimate. Without them, you're relying on the contractor's description of what they found, which is a weaker evidentiary position.
Tarp Condition and Expected Longevity
Tarps are temporary protection, typically measured in weeks to a few months depending on weather exposure and UV intensity. Note the tarp material and gauge if visible. A six-mil poly tarp in a Florida summer has a shorter service life than a woven poly tarp with UV inhibitors.
If the tarp shows signs of wear, tearing, or UV degradation, document it. That condition affects your repair timeline and may support a recommendation for re-tarping if repairs extend beyond the tarp's useful life.
Note the installation date relative to today. A tarp that went on three weeks ago in August heat is already past its optimal condition window, which is relevant to your reserve and to the urgency of getting repairs scheduled.
Checklist Summary: Eighteen Verification Items
Perimeter and Attachment (items 1 to 6): tarp extends four feet past damage on all sides, ridge anchor present, eave anchors present, rake anchors present, non-destructive attachment confirmed, no nail penetrations introduced by contractor.
Seam and Overlap (items 7 to 10): minimum twelve-inch overlap at all seams, ridge wrap correct, seam direction follows water flow, seam tape or fasteners documented.
Drainage (items 11 to 13): no ponding areas visible, gutters and downspouts clear, ballast allows runoff.
Structural (items 14 to 15): attic inspection completed, pre-existing damage documented separately.
Documentation (items 16 to 17): contractor package received with installation date, crew, photos, and materials list; pre-installation photos present.
Tarp Condition (item 18): material, gauge, and current condition noted with estimated remaining service life.
Using This Checklist in Your Workflow
This checklist works best when you run it at the site and again when you're writing your estimate. The site pass catches physical conditions. The desk pass catches documentation gaps.
If you're working with a vendor panel, share this checklist with your preferred contractors before CAT season. Contractors who know what you're looking for tend to deliver better documentation packages, which reduces your supplement exposure and speeds up the claim cycle.
For questions about non-destructive tarping methods or vendor panel qualification, contact Tarpers at (833) 365-TARP or visit our insurance vendor services page. You can also review our tarping method documentation and completed project gallery.
Mitigation standards references are available through PLRB and IICRC.
Partner With Tarpers
Whether you are an insurance carrier, a TPA, or an adjuster looking for reliable non-destructive tarping vendors, we are here to help. Get in touch with our team.