
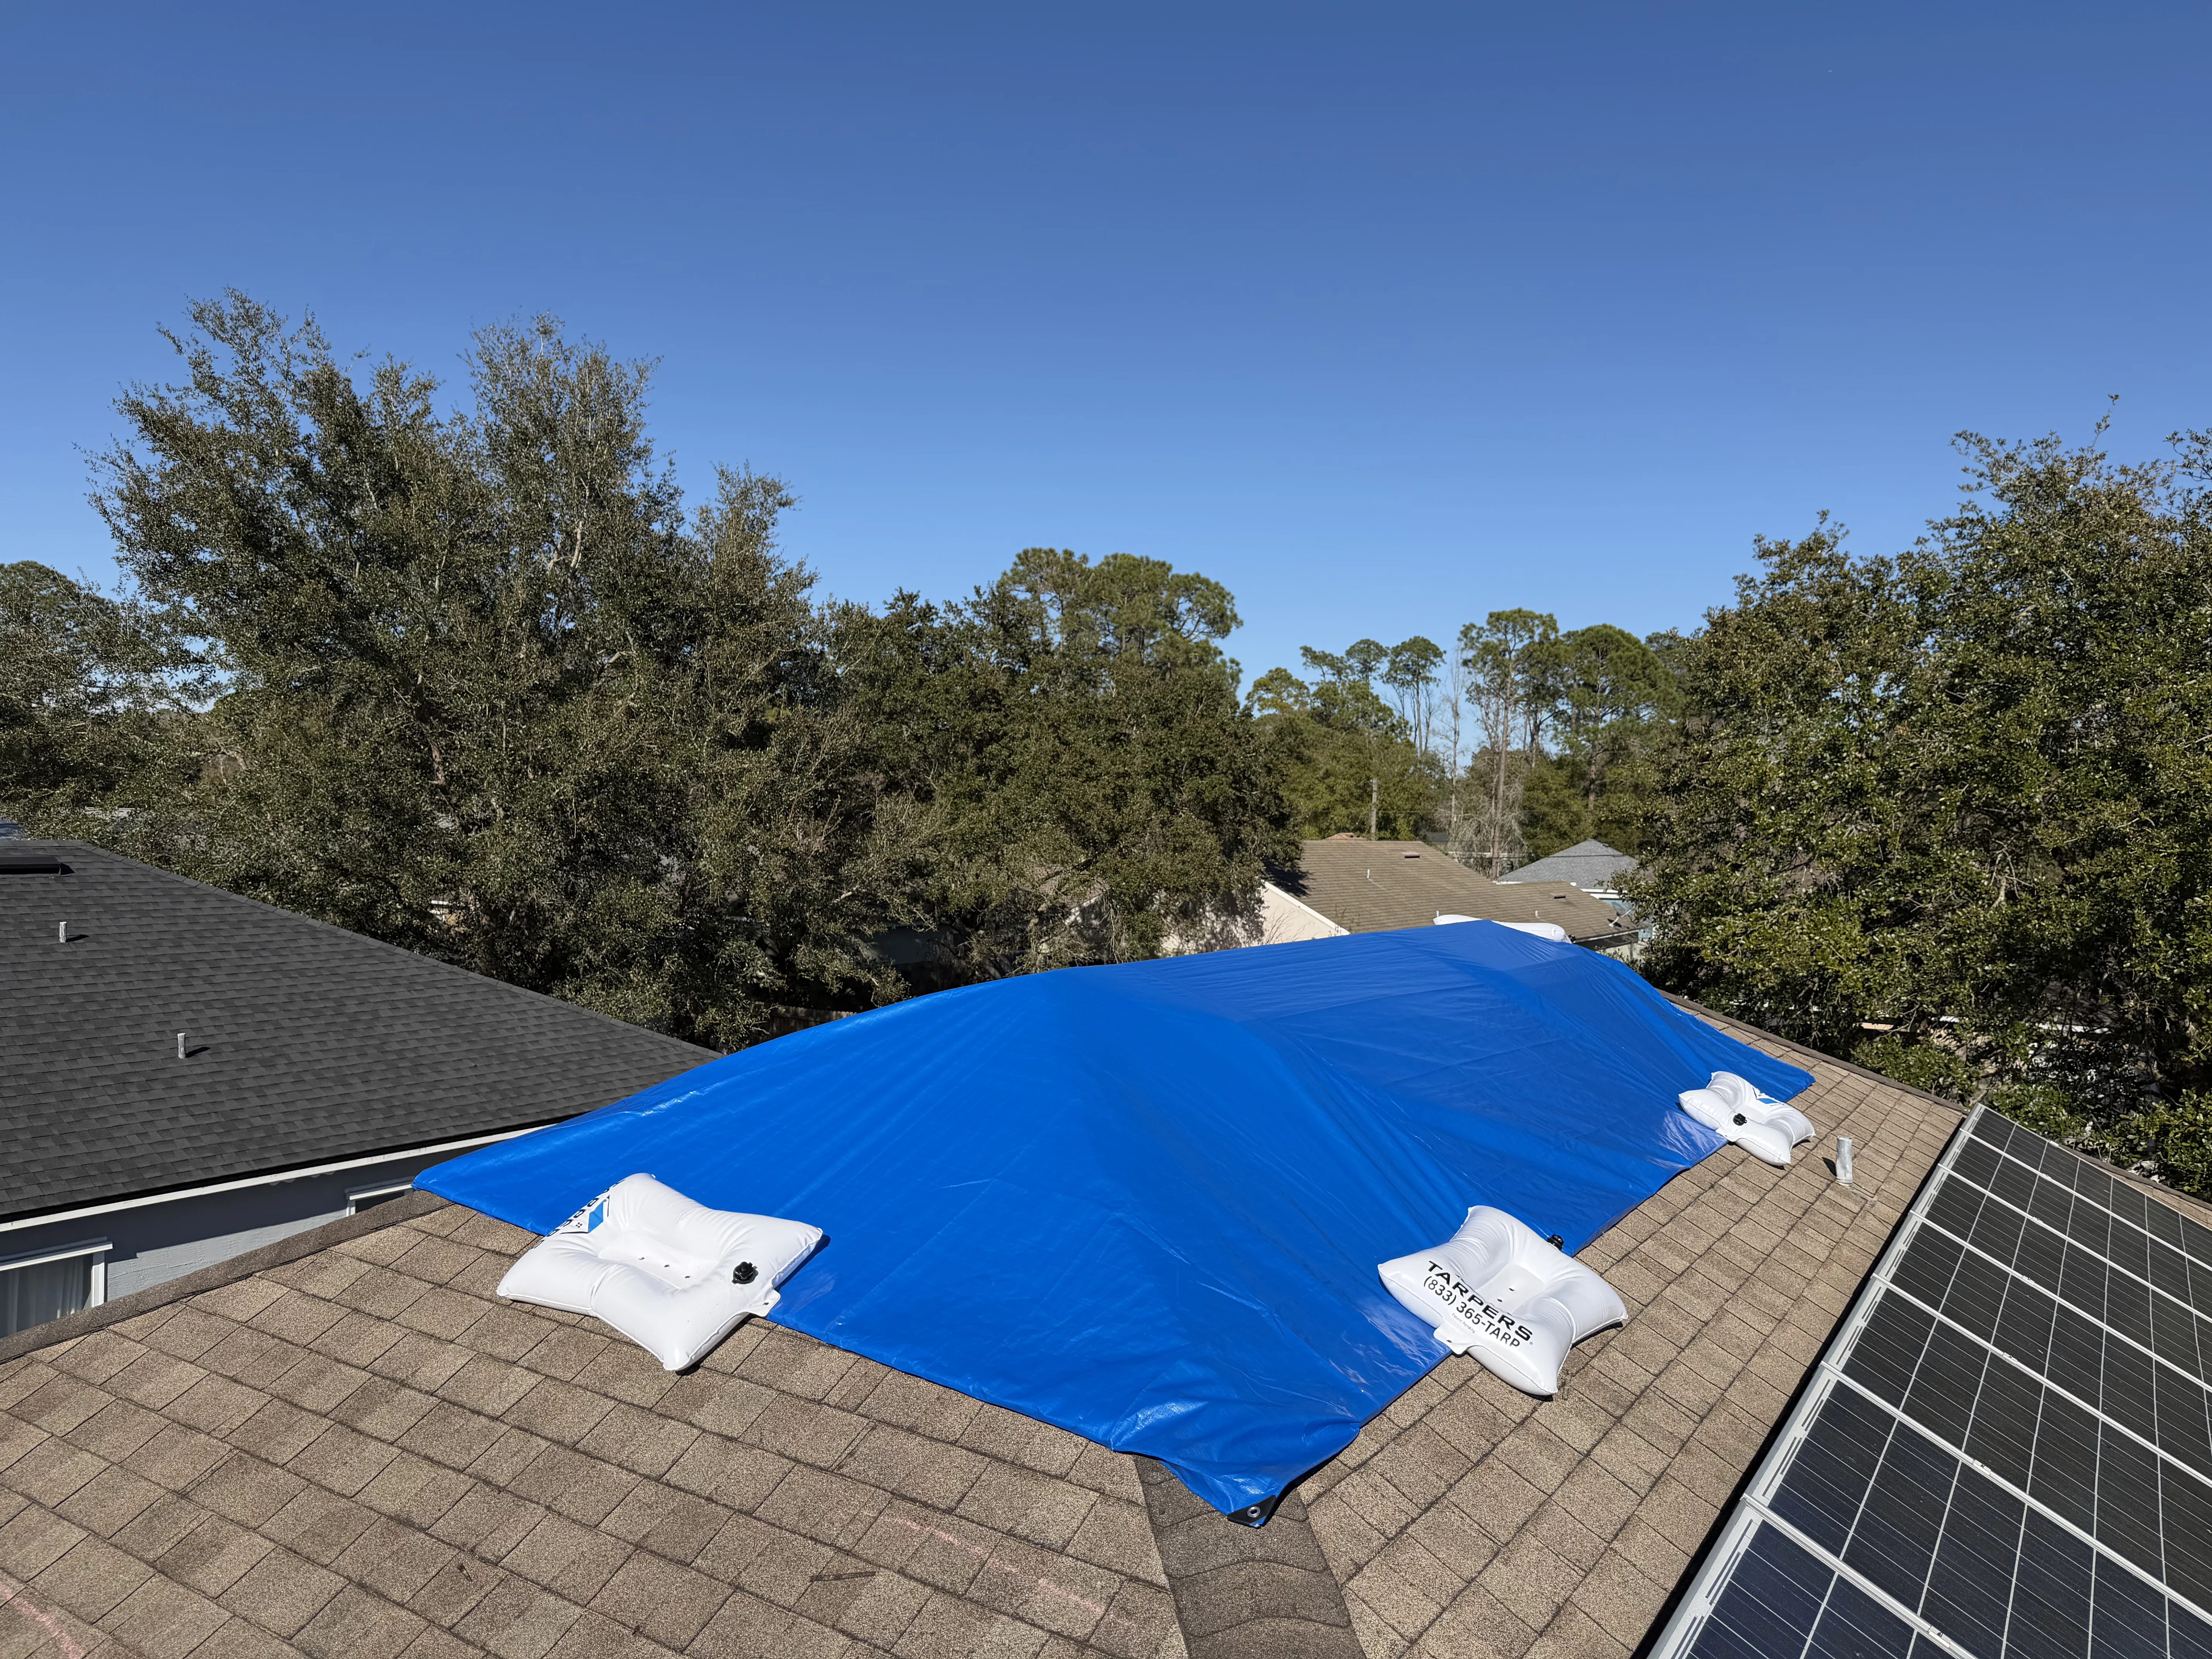
Photo documentation is one of those things that looks simple until a claim goes sideways. Every adjuster has seen a file where the tarping vendor showed up, did the work, and left behind three blurry photos taken from the driveway. Six months later, when the property owner files a supplemental claim and the carrier needs to reconstruct what the roof looked like at the time of emergency mitigation, there is nothing useful in the file. That gap costs time and credibility.
The standard for what a complete tarping photo file should contain is not complicated. It is just not consistently followed. This post lays out the seven photos every emergency tarping job should produce, framed for the people who actually review claim files.
Why Photo Standards Matter for Claim Cycle Time
A complete photo file does two things for the carrier side of a claim. First, it establishes the pre-mitigation condition of the roof so that the scope of storm damage is clear and defensible. Second, it documents the mitigation work itself so that the method, coverage area, and quality of the temporary protection are on record.
When both of those things are in the file, adjuster review moves faster. There is less back-and-forth with the vendor, fewer requests for supplemental documentation, and a cleaner path to closing the mitigation portion of the claim. When either is missing, the file stalls.
Carriers and TPAs that set explicit photo requirements for their vendor panels see measurable improvement in file completeness. The vendors who meet those requirements consistently tend to be the ones who understand that documentation is part of the service, not an afterthought.
The Seven Photos Every Tarping Job Should Produce
These are the photos that matter for the claim file. A file that contains all seven is a file that can stand on its own.
1. Pre-work overview from the street. A wide shot of the property before any crew touches the roof. This establishes the pre-mitigation condition and confirms the address. It should be taken before equipment is unloaded.
2. Damage close-up before tarping. A photo of the specific area of storm damage, taken from the roof or as close as safely possible. This is the photo that defines the scope of the original loss. It should show the breach, the missing shingles, or the impact point clearly.
3. Tarp placement overview. A photo showing the full tarp in position on the roof before it is secured. This documents coverage area and confirms the tarp extends beyond the damaged section on all sides.
4. Anchor method detail. A close-up of how the tarp is secured. For non-destructive methods using TarpBags®, this photo shows the water-filled bags along the furring strips, confirming no nails were driven into the roof surface. For any method, this photo is the record of how the tarp was held in place.
5. Perimeter seal detail. A photo of the tarp edges, particularly at the ridge and eaves, showing how the perimeter is managed. This is where most tarp failures start, and a photo here documents that the crew addressed it.
6. Post-work overview from the street. A wide shot of the completed job from the same position as photo one. This is the before-and-after pair that shows the property was protected and the work area was left clean.
7. Timestamp and GPS metadata confirmation. Not a separate photo but a documentation requirement: every photo in the file should carry embedded timestamp and GPS metadata. Most modern smartphones capture this automatically. Vendors should confirm their field crews are not stripping metadata when transferring photos.
How Non-Destructive Method Affects Documentation
The anchor method a vendor uses changes what the documentation needs to show. With nail-down tarping, the anchor detail photo is less useful because the penetrations are not visible from above and the damage they introduce is not apparent until water finds them later.
With a non-destructive method using TarpBags, the anchor detail photo is genuinely informative. It shows the bags in position, confirms no penetrations were made, and creates a record that the roof surface was not altered during the mitigation phase. That matters when the adjuster is trying to distinguish original storm damage from vendor-introduced damage at a later inspection.
Carriers and TPAs that specify non-destructive tarping in their vendor requirements are also, in effect, specifying a documentation standard that is easier to verify. The photo either shows bags or it shows nails. There is no ambiguity.
Integrating Photo Standards Into Vendor Panels
The most effective way to raise photo quality across a vendor panel is to make the standard explicit in the vendor agreement and review it at onboarding. Vendors who know what is expected produce better files. Vendors who are never told what is expected default to whatever they have always done.
A few practical approaches that work well for carrier and TPA vendor managers: attach a photo checklist to the work order with one line per required photo; pull a random sample of completed jobs at 90 days and score the files against the checklist; and establish a clear escalation path for incomplete files so vendors have a real incentive to get it right the first time.
Tarpers builds photo documentation into every job as a standard part of the workflow. Our crews use the seven-photo framework on every property, and the files are organized for adjuster review before they leave the site. For more on how we structure our documentation for carrier and TPA partners, visit our insurance vendor services page or review our completed projects.
What Adjusters Should Ask For
If you are reviewing a tarping file and the documentation is thin, these are the specific requests that fill the most important gaps:
Ask for the pre-work overview and the damage close-up. If those two photos exist, you can establish the pre-mitigation condition. If they do not, you are working from incomplete information.
Ask for the anchor method detail. This tells you whether the vendor used a non-destructive method or drove nails. It also tells you whether the vendor documented their own work, which is a reasonable proxy for overall quality.
Ask for GPS and timestamp metadata. If the vendor cannot provide it, that is worth noting in the file.
The Property Loss Research Bureau and the IICRC both publish guidance on documentation standards for emergency mitigation work. For questions about Tarpers' documentation practices or to discuss a vendor partnership, contact our insurance team or call (833) 365-TARP.
Partner With Tarpers
Whether you are an insurance carrier, a TPA, or an adjuster looking for reliable non-destructive tarping vendors, we are here to help. Get in touch with our team.